Last update:
Last verified version: AMC 3.2.1
This article explains how to manually install the ASGARD agent. For example, this method can bypass CIS benchmark restrictions that block executions from the /var/tmp partition.
The following instructions apply to Rocky Linux 9 with SELinux enabled.
-
Upload the appropriate RPM package, downloaded from your ASGARD Management Center, to your asset's root folder.
-
Unpack the RPM package:
su
cd /root
rpm2cpio asgard2-agent-linux-amd64.rpm | cpio -idmv
-
Copy the unpacked files into their designated directories:
cp -a usr/. /usr/
cp -a var/. /var/
-
Set SELinux to permissive mode (if active) and clear the SELinux audit log:
setenforce 0
truncate -s 0 /var/log/audit/audit.log
-
Install the asgard2 service and verify it is running:
var/lib/asgard2-agent/asgard2-agent -install
systemctl status asgard2-agent.service
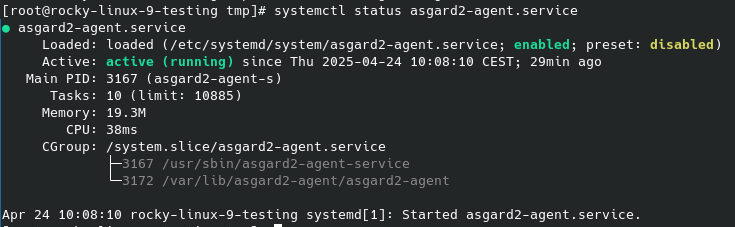
-
Install the asgard2 service and check if he is running:
# var/lib/asgard2-agent/asgard2-agent -install
# systemctl status asgard2-agent.service
-
Run SELinux audit to check the issues in the audit file:
# audit2allow -w -a
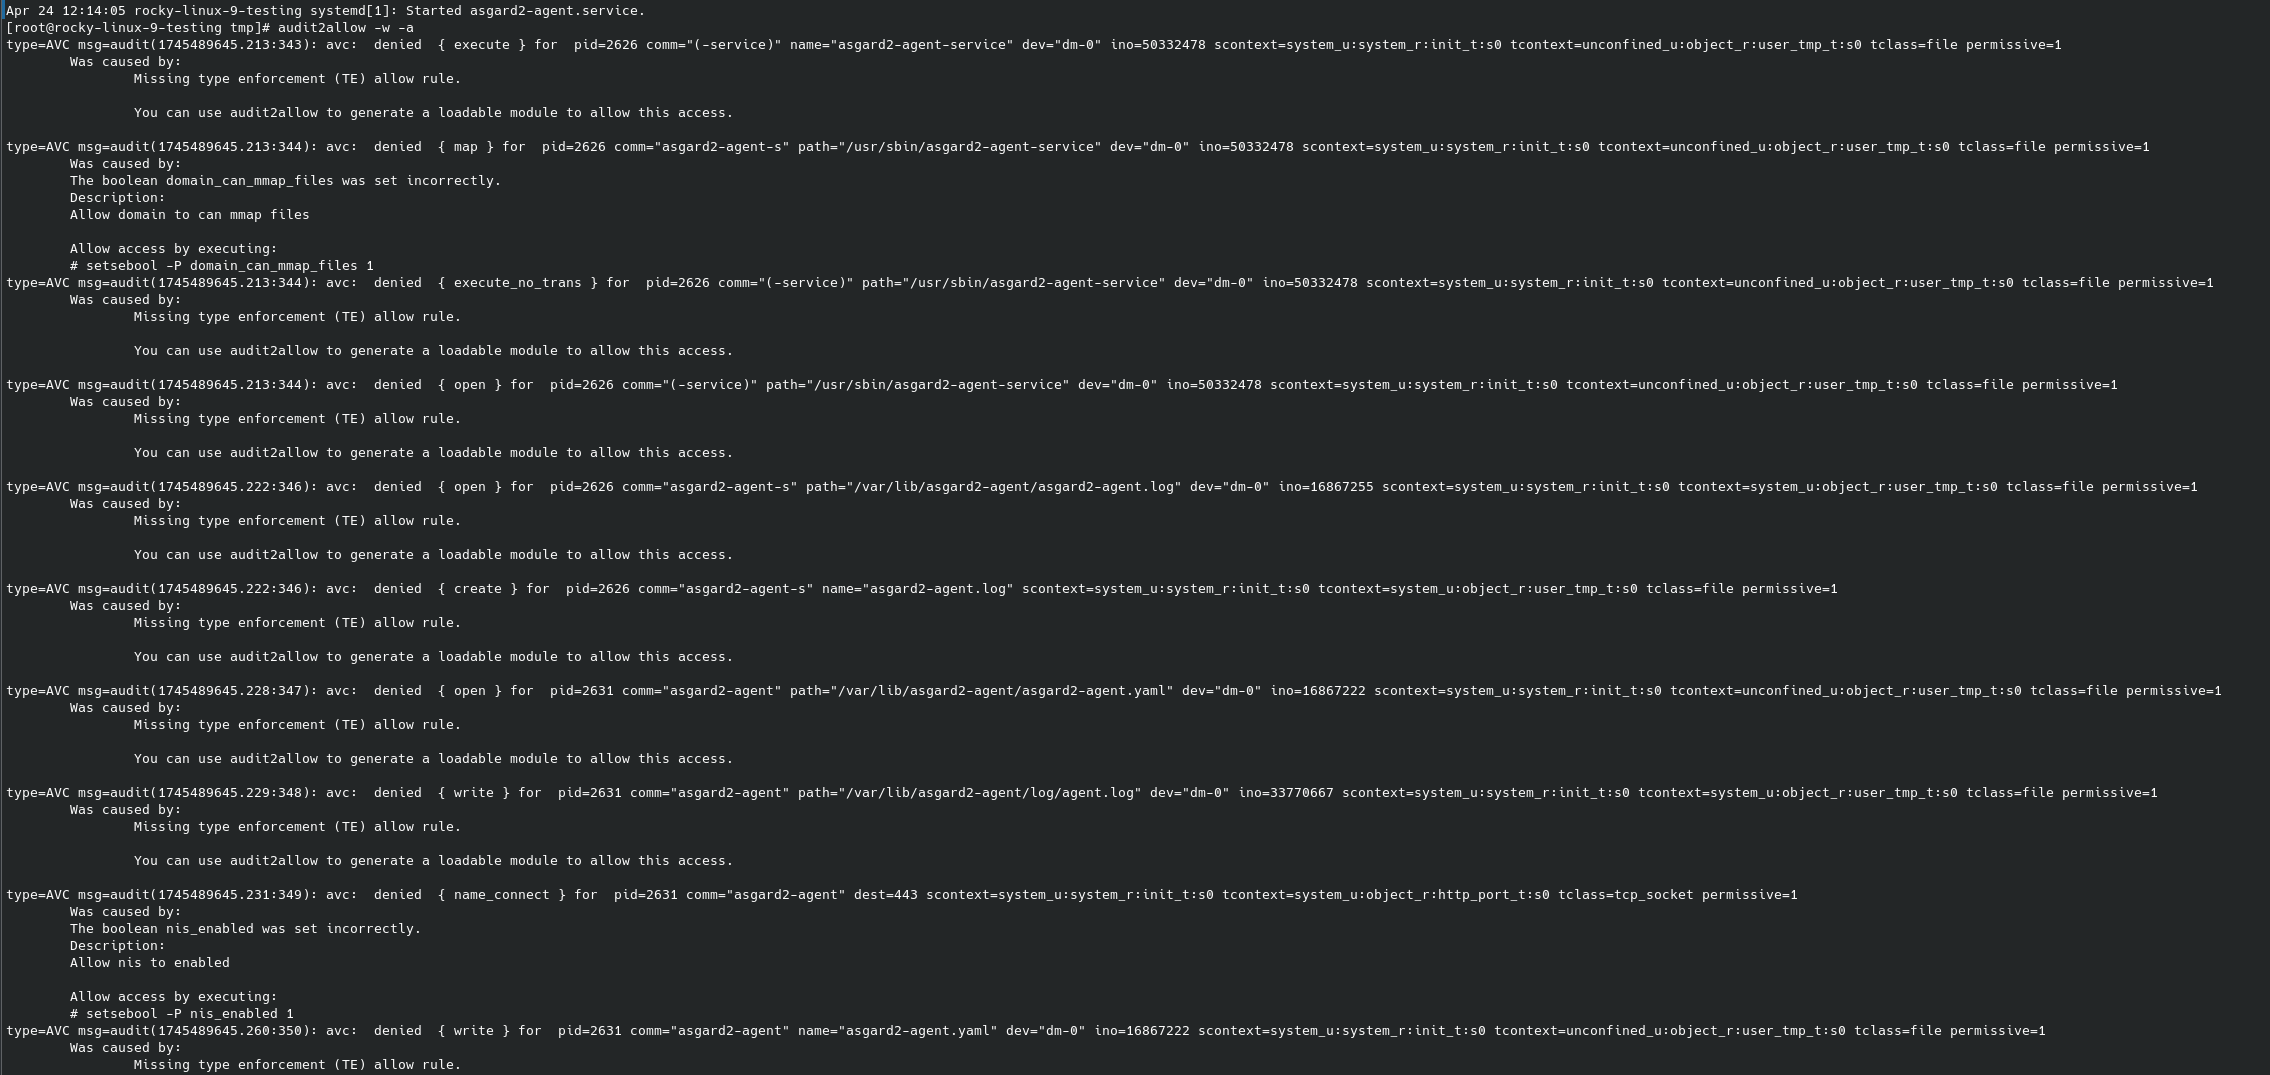
-
Create a SELinux policy for the asgard2-agent.service and enable it:
# cat /var/log/audit/audit.log | grep AVC | grep denied | tail -1 | audit2allow -M asgard2-agent-service
# semodule -i asgard2-agent-service.pp
-
Initiate the relabeling of the whole system files and reboot the system:
# touch /.autorelabel
# reboot
-
Check if the asset requests the access to your AMC:

-
Perform a test scan
Please note the agent uninstallation requires manual execution:
https://asgard-manual.nextron-systems.com/en/latest/administration/uninstall.html#uninstall-asgard-agents-on-linux
- Fixing FQDN Issues for ASGARD Installation and Connectivity
- ASGARD Agent Binary Security and CA Certificate Expiration Overview
- Repairing Broken Permissions of ASGARD Agent in Windows
- Debugging THOR scans with ASGARD
- Migrating the ASGARD Management to a New Server
- Fixing Time Zone Issues in ASGARD Management Center for Scheduled THOR Scans
- Troubleshooting Cluster Health Check Issues After Updating Elastic Search Cluster Member
- Installing ASGARD without Web UI
- Installing ASGARD Products Without Nextron Installer CD in Azure
- Installing the ASGARD Agent Manually
- Avoiding Multiple Asset Requests in Restricted Endpoint Configurations
- Repairing an ASGARD Management Center installation